Crawl Space Vents and Vapor Barriers for Pier and Beam Homes
Last updated: September 10, 2026
Key Takeaways
- Check the crawl space again after the next heavy rain and after 2 to 4 weeks.
- Lay the sheets with at least 12 inches of overlap on seams.
- In practical terms, the barrier should cover nearly all exposed soil and overlap seams by at least 12 inches.
- This does not apply cleanly to slab-on-grade homes, basements, or crawl spaces with active flooding.
- For crawl space vents vapor barriers pier beam homes, verify conditions with a qualified contractor before closing vents or covering soil.
Table of Contents
- Who this applies to, and what I’m assuming you already know
- Do crawl space vents need to stay open in a pier and beam house?
- What a crawl space vapor barrier actually does
- How do I install a crawl space vapor barrier the right way?
- What should I check before I seal vents or lay plastic down?
- When does the standard approach not apply?
- What mistakes do people make most often?
A pier and beam home can stay dry under the floor — or it can turn into a damp, mold-prone cavity. The difference often comes down to two things: crawl space vents and vapor barriers. So for crawl space vents vapor barriers pier beam homes, the blunt answer is this: stop treating the crawl space like a place to store outside air, and start with ground moisture.
Who this applies to, and what I’m assuming you already know
This is for a typical pier and beam house with a wood floor system over a crawl space, usually built on piers, concrete blocks, or masonry supports. I’m assuming you already know where the access door is, can tell a wet floor from a wet crawl space, and understand that a vapor barrier is not the same as insulation. Usually, it is polyethylene — often 6 mil, 10 mil, or 20 mil — laid across the soil to slow moisture from evaporating into the air below the house.
This does not apply cleanly to slab-on-grade homes, basements, or crawl spaces with active flooding. Standing water? Rotten sill plates? Sagging joists? Big patches of mold? Then you are past the “simple barrier” stage. No shortcut there. The structure and the moisture source need a proper diagnosis before anything gets covered.
Most readers are not really asking, “Should I close the vents?” They want the practical version: what keeps a pier and beam crawl space dry without trapping moisture where the wood framing cannot get rid of it? My view is simple. Control water at the ground, keep bulk water out, and use vents only when the climate and crawl space conditions actually justify them.
Two mistakes show up all the time. One is leaving vents alone because “airflow solves everything.” The other is throwing plastic over the dirt and ignoring drainage, plumbing leaks, or a floor with puddles. Same flaw, different costume. Both confuse moving air with drying. Air that brings moisture in does not help.
Do crawl space vents need to stay open in a pier and beam house?
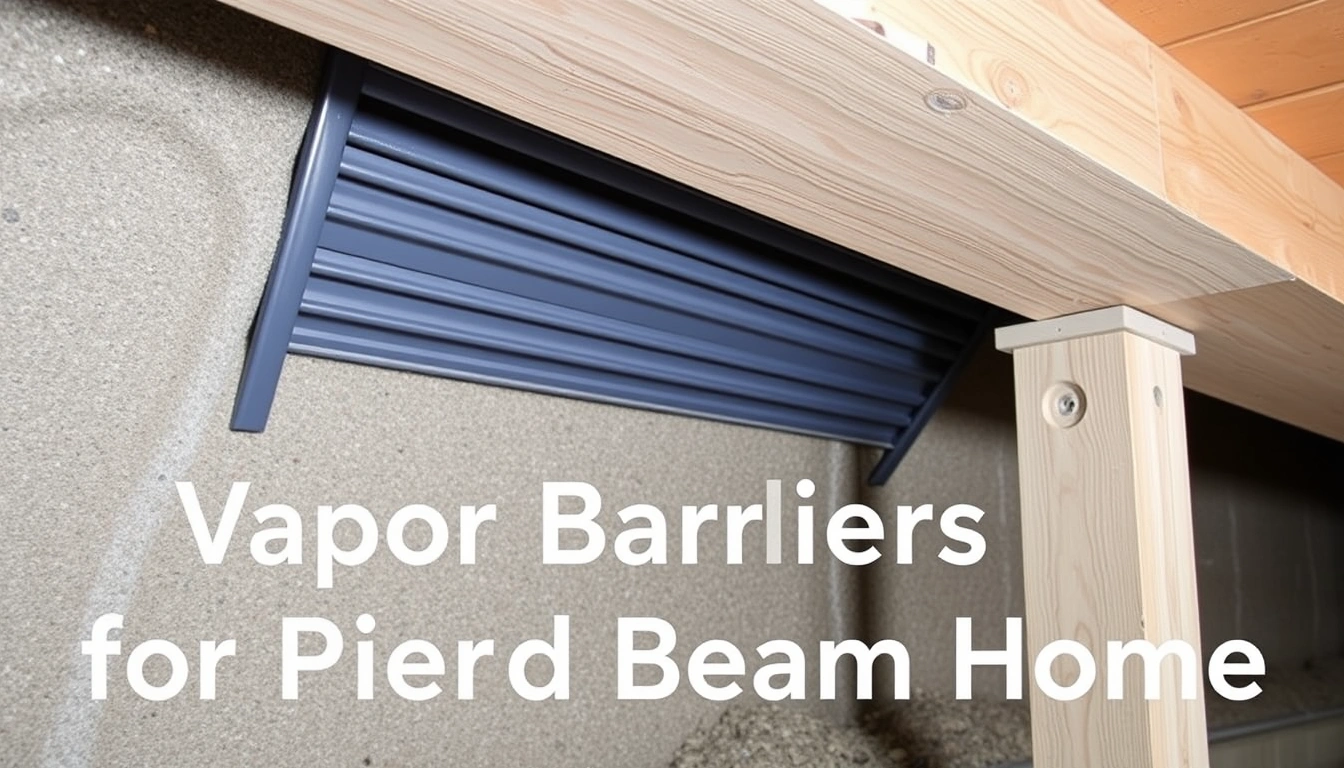
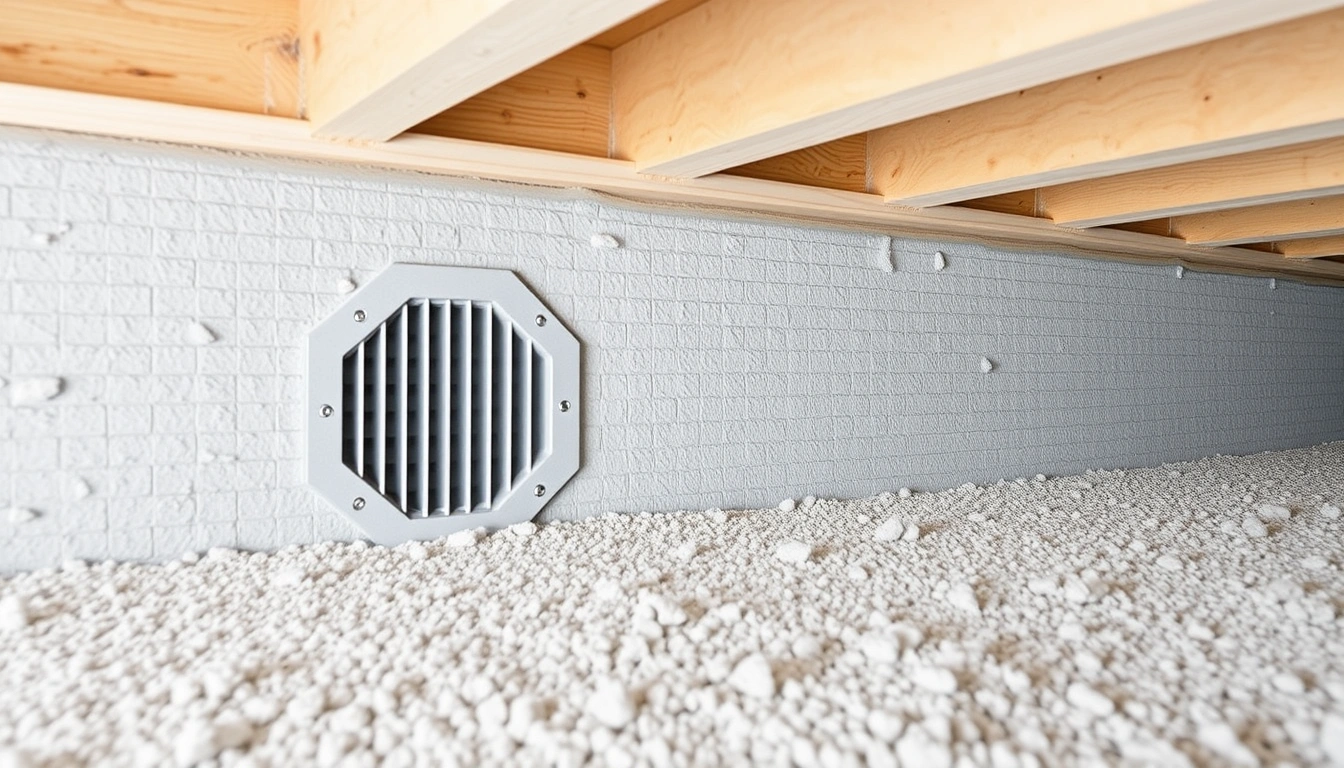
No, not automatically. In many climates, they are part of the problem, not the cure. Open vents used to be treated as standard because people wanted cross-ventilation under a house, but the right call depends on climate and crawl space conditions, so consult a professional if you are unsure. Sounds sensible — until humid summer air hits a cool crawl space, condenses on framing, and leaves the wood wetter than before. Then you get higher humidity, a musty odor, and sometimes visible mold on joists or subflooring.
That does not mean vents are always wrong. In dry climates, or in crawl spaces that are already well drained and separated from soil moisture, vents can help dilute damp air. But “vented crawl space” is not a universal fix. It depends on climate, local code, the amount of soil moisture, and whether the crawl space already has a continuous ground cover.
A decent rule of thumb: if the crawl space smells damp, the subfloor feels cool and clammy in summer, or you see rust on metal fasteners and HVAC components, open vents are not proving their case. In humid regions, they usually do not control moisture well enough. Period.
There is also a code angle worth checking. The International Residential Code has, in recent editions, allowed unvented crawl spaces when certain conditions are met, including a continuous vapor retarder over the earth floor and controlled mechanical drying or air exchange. Local adoption varies, so I would not assume your area follows the same version. The code point matters because many “it has always been vented” crawl spaces were built under older assumptions, but current code and local amendments should be checked before making changes.
One thing to keep clear: vents are not the main moisture control in a pier and beam home. Drainage, grading, roof runoff, and ground vapor control are. Vents are at best a supporting measure, and in the wrong climate they are a liability.
What a crawl space vapor barrier actually does
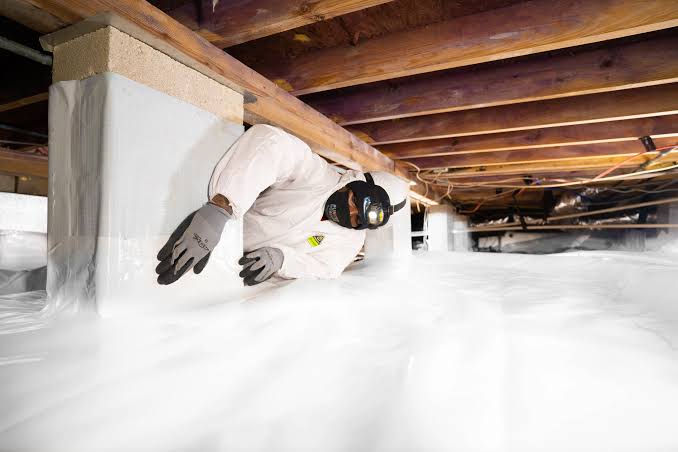
A crawl space vapor barrier slows moisture evaporating from the soil into the air under the house. It does not waterproof the crawl space, and it does not stop water running in from outside. That difference matters. Bare dirt can send a surprising amount of moisture upward every day, especially after rain or where the water table sits high. A continuous plastic ground cover cuts that source off.
In practical terms, the barrier should cover nearly all exposed soil and overlap seams by at least 12 inches. The edges should be sealed or tucked and secured to foundation walls, piers, or grade beams so the sheet does not peel back; for specific fastening methods, consult a qualified crawl space contractor or follow the membrane manufacturer’s instructions. A torn sheet or one that just lies there loosely does not count. It is only plastic on the ground.
The barrier works best as part of a system. Usually that means:
– gutters and downspouts that send roof water away from the foundation,
– a crawl space floor that is graded as flat as possible,
– sealed plumbing leaks,
– and, in some homes, a dehumidifier or controlled venting strategy.
People often ask whether 6 mil plastic is enough. I’d call 6 mil the light end of the range — better than nothing, but usually not my first pick for a crawl space people will crawl through, service, or repair over time; for specific conditions, consult a professional. Thicker film, such as 10 mil or 20 mil, stands up better to foot traffic, stone edges, and punctures. The trade-off is plain: heavier material costs more and is harder to maneuver around piers and low joists. That stuff gets awkward fast.
Another point gets missed all the time: the barrier changes how the crawl space dries. Once the ground is covered, the crawl space may not need as much venting, and in some cases less venting works better. So “add plastic and leave the vents wide open” is not automatically the right sequence.
How do I install a crawl space vapor barrier the right way?
Start with the water sources. Then cover the soil with continuous polyethylene. After that, seal the perimeter and check for leaks after the first rain. That is the order that matters.
- Inspect the crawl space after a rain, not during a dry spell. Look for wet soil, dripping pipes, standing water, white efflorescence on masonry, and stained insulation. Verify that you can reach the farthest corner and that the access opening is large enough for a full sheet roll. Any active runoff or puddling deeper than a thin film is a warning sign, because then the barrier is being asked to cover a water problem instead of controlling vapor.
- Fix the bulk water first. Clean gutters, extend downspouts several feet away from the foundation, and correct grading so water moves away from the house. If the yard slopes toward the crawl space, the barrier alone will not help. No roof water dumping beside the foundation. No surface water sitting against vents or piers. Simple enough.
- Remove debris, old plastic scraps, and sharp objects. Pull out wood offcuts, broken concrete, and trash that could puncture the membrane. Smooth the soil as much as practical. Jagged stone or leftover construction debris is a problem sign, because it can turn a 20 mil barrier into a shredded one.
- Choose a barrier thick enough for the crawl space conditions. In a low-traffic, low-risk space, 6 mil may be used, but 10 mil or 20 mil is more durable where service work is likely. Lay the sheets with at least 12 inches of overlap on seams. If the barrier tears while you are unfolding it, stop and patch it before moving on.
- Run the barrier up foundation walls and around piers. Terminate it several inches above the soil line where practical, and fasten it so it stays in place. Seal around posts, plumbing penetrations, and support piers with compatible tape or mastic designed for the material, and for load-bearing details or tricky piers consult a professional. Continuity is the test here: no large gaps at the edges or around obstructions.
- Seal the seams, not just the middle. Use tape or seam adhesive made for polyethylene, and press it firmly along the full overlap. A seam that lifts at the edge will leak moisture. Curling tape, dust under the overlap, or seams that separate when you tug them lightly — those are trouble.
- Decide what to do with the vents before you close up. In some homes, vents are left open seasonally or partially controlled; in others they are sealed as part of a full encapsulation approach. Do not cover vents blindly. Humidity behavior is the check: if the crawl space still feels damp or condenses in summer, open vents are probably not helping.
- Check the crawl space again after the next heavy rain and after 2 to 4 weeks. Look for pooled water on top of the barrier, displaced seams, trapped odor, or condensation on ducts and framing. If the humidity remains high or you still see wet framing, the problem is not solved and you need to identify whether ventilation, drainage, or mechanical drying is missing.
A good result is not a photo that looks perfect. It is a crawl space that smells neutral, has dry soil under the plastic, and does not leave framing damp after humid weather. If widespread moisture is still showing up on the wood members, the system is incomplete.
What should I check before I seal vents or lay plastic down?
Check the moisture source, the framing condition, and the local humidity pattern before you close anything off. A crawl space can look like a venting problem when the real issue is a plumbing leak, poor drainage, or outside grade sending water straight toward the foundation. Seal vents over an active leak, and you may trap the problem and make it harder to notice. Bad trade.
Start with the obvious checks. Look for leaking supply lines, drain lines, air handler condensate, and duct sweating. Check the soil for dark patches that stay wet even when it has not rained. Look at the sill plate, joists, and subfloor for staining, soft wood, or fungal growth. If you can see daylight through major gaps in the floor framing or large holes in the skirt, those openings may be changing airflow in ways a vent count does not explain.
Moisture meters and hygrometers can help, but they do not replace judgment. A relative humidity reading in the crawl space that stays persistently high compared with the living space is a warning sign, especially in warm months. Condensation on ducts is another clue that the air under the house is carrying too much moisture.
This is also where you decide whether the crawl space needs insulation work. In a pier and beam house, floor insulation and vapor control affect each other. Fiberglass hanging damp beneath a leaky floor is often worse than no insulation at all, because it can trap moisture and sag. If the crawl space is being sealed, the insulation approach may need to change too.
I would not seal vents simply because plastic is on the ground. Seal them only when the crawl space has a clear moisture-control path: dry site drainage, intact vapor barrier, and either mechanical drying or a climate where vent closure fits code and local conditions. The standard fix fails when the crawl space is still acting like a wet basement without walls.
When does the standard approach not apply?
The standard approach does not apply when the crawl space is actively wet, structurally damaged, or used for combustion air in a way that depends on outside venting. Here are the situations where I would stop and change course.
Standing water after normal rain: This means you have a drainage problem, not just a vapor problem — fix grading, gutters, downspouts, or subsurface drainage before adding a barrier.
Rot, insect damage, or sagging framing: This means the structure may need repair before moisture control can work safely — get the wood and support system evaluated first.
Severe mold growth or musty odor that returns quickly: This means the crawl space is still feeding on moisture — identify the source and consider a full encapsulation or dehumidification plan rather than vents alone.
Combustion appliances or HVAC equipment that rely on crawl space air: This means vent changes can affect air supply and draft — have the equipment arrangement reviewed before sealing anything.
High ground moisture, a high water table, or frequent flooding: This means a simple barrier may be overwhelmed — use drainage and possibly a sump or engineered moisture-control system instead.
Lots of plumbing or ductwork that needs routine access: This means the barrier must be detailed carefully around service points — use a tougher membrane and expect more labor, not a quick rollout.
One more edge case is climate. In some hot-humid regions, crawl spaces are commonly managed as semi-conditioned or sealed spaces because summer vent air brings in more moisture than it removes. In cooler, drier regions, a vented crawl space can still make sense. That is why a one-size-fits-all answer is lazy here.
What mistakes do people make most often?
The biggest mistake is using vents as the only moisture fix. The result is a crawl space that still pulls in humid air and still smells damp. The correct alternative is to control roof water, surface water, and ground moisture first.
A second mistake is laying down plastic with open seams and no edge attachment. The result is a barrier that shifts, tears, and leaves bare soil exposed again. The correct alternative is a continuous sheet with overlaps, sealed seams, and perimeter fastening.
A third mistake is using thin, cheap plastic in a crawl space that gets serviced often. The result is punctures from knees, tools, and sharp gravel. The correct alternative is a thicker membrane, usually 10 mil or 20 mil, if the space will be entered more than rarely.
A fourth mistake is closing vents before checking for plumbing leaks or duct condensation. The result is trapped moisture that still needs a way out. The correct alternative is to verify the crawl space is dry enough, then decide whether vents should stay open, be reduced, or be sealed.