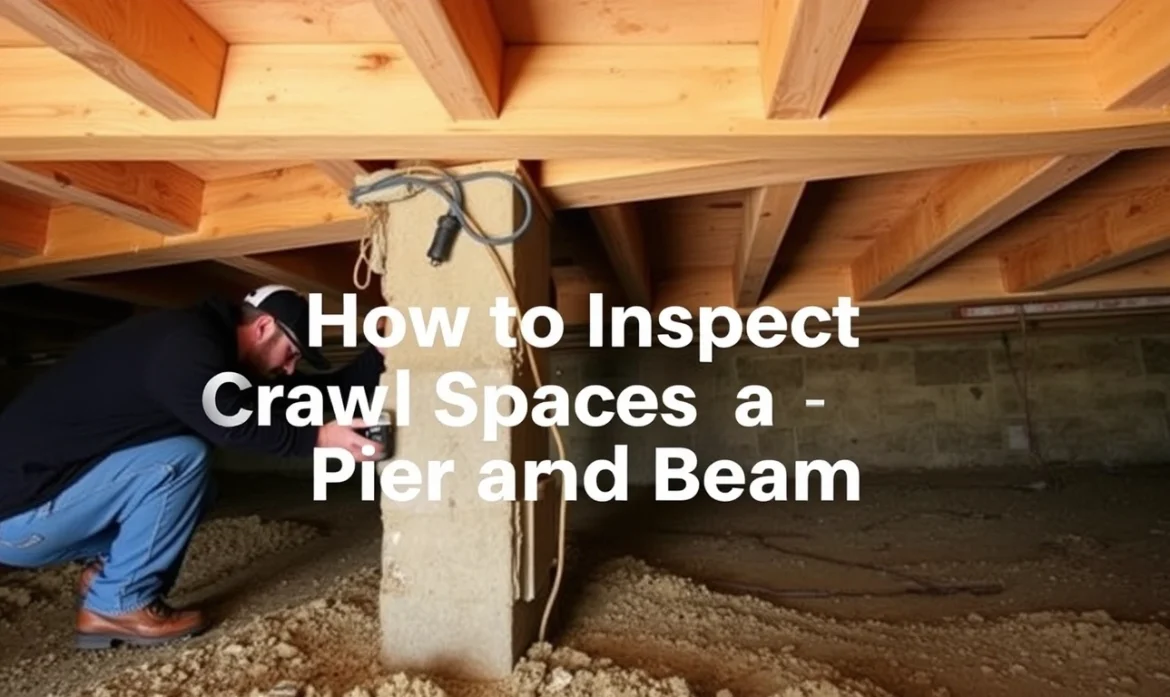
How to Inspect Crawl Spaces Under a Pier and Beam House
Last updated: September 10, 2026
Key Takeaways
- Open the access hatch and let your eyes adjust for 2 to 3 minutes.
- A full first inspection of a medium-sized house can take 30 to 90 minutes, depending on clearance and clutter.
- If a downspout dumps within 3 feet of the house, that can be the whole story for one wet corner.
- In older houses, especially pre-1970 framing, you may see mixed materials: brick piers, wood shims, concrete block patches, and added plumbing runs.
A damp joist can hide under a clean floor. So can termite tunnels. If you own a pier and beam house, learning how inspect crawl spaces under pier beam house is where small trouble starts acting expensive: sagging beams, broken vents, plumbing leaks, rot, and insect damage all like the dark. This guide shows how inspect crawl spaces under pier beam house in a careful order, so you can spot moisture and structural red flags before deciding whether to call a professional. I’d do it myself if the space is safe to enter, you know what wet wood and shifting supports look like, and you’re checking conditions rather than trying to diagnose a foundation repair on the spot; otherwise, bring in a qualified pro.
Who this is for — and who should do something else
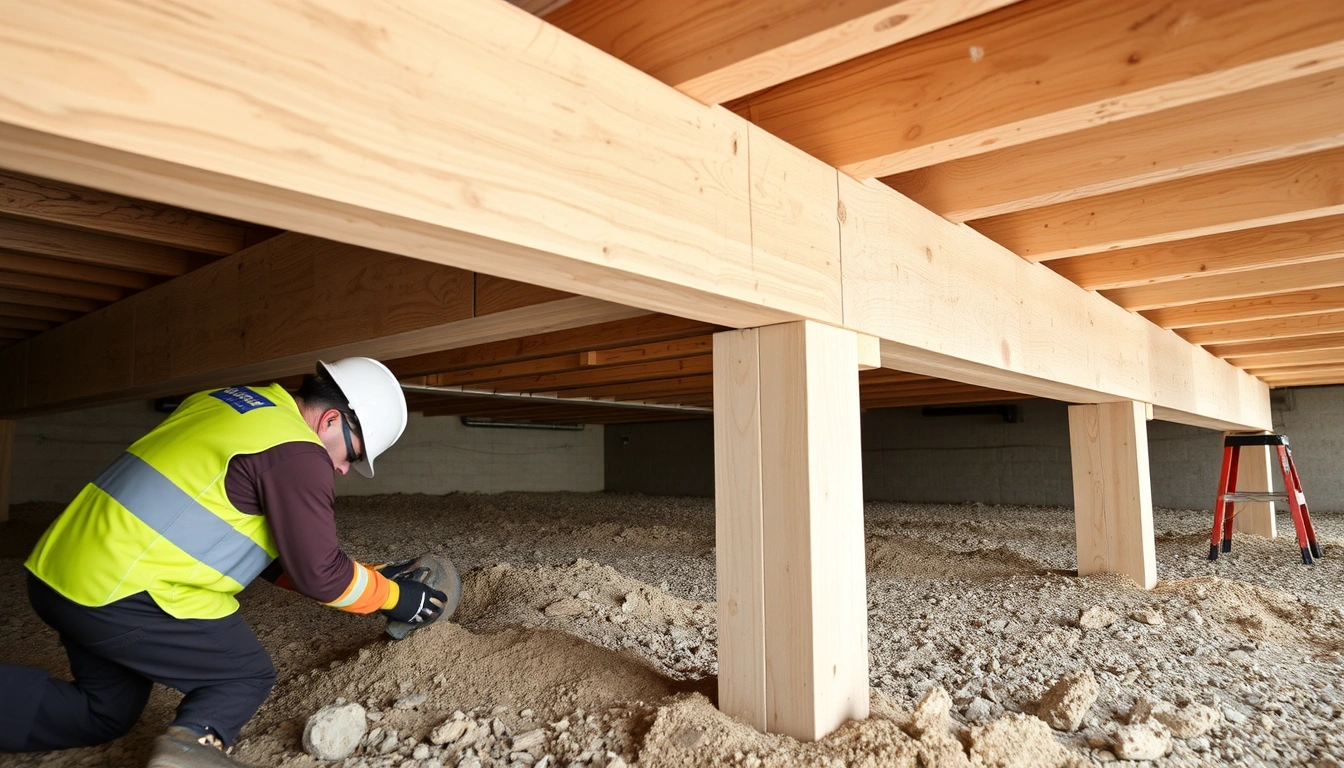
This method fits a homeowner or buyer who wants a clear look under a pier and beam house before the next step: a repair call, a termite inspection, a drainage fix, or just a smarter maintenance plan. It assumes you can kneel, crawl, or stoop for 20 to 45 minutes at a time, and that you have a flashlight, gloves, long sleeves, and a mask rated at least N95 if the crawl space is dusty or moldy. Fair trade-off: you get more information, but you’ll be uncomfortable.
A pier and beam house sits on posts or piers with a framed floor above the ground. That open gap lets you inspect what slab homes hide, yet it also means the underside can gather moisture, rot, pests, and plumbing failures. A good inspection is mostly pattern-spotting. Where does water enter? Where does the wood soften? Where is the structure sagging? Where can air or pests get in?
Not every crawl space deserves a full entry. Stop if the crawl space is flooded, if the access opening is too tight to exit quickly, if you smell strong sewage gas, if you see live electrical damage, or if you suspect major movement in the structure. In those cases, I would stop and get a qualified foundation contractor, plumber, pest professional, or structural engineer, depending on the problem. A quick visual check from the hatch is still useful; full entry is not. For a safety baseline, OSHA’s crawl-space guidance is a useful reference when conditions are cramped or hazardous: https://www.osha.gov/.
What you should already know is plain enough: how to shut off the flashlight, keep your footing, and tell surface dirt from damaged wood. No special tools are needed for a first pass. Patience is. Skip the order, and you miss the real issue.
What should I look for first under a pier and beam house?
Start with water, movement, pests, and unsafe conditions before anything else. The first minute in the crawl space should tell you whether the area is dry enough, stable enough, and accessible enough to continue.
I use a simple sequence: entry point, air, floor framing, support system, then utilities. That order matters because the easiest problem to spot is often the one that explains the rest. A damp smell near one corner, for instance, can point to a plumbing leak or poor drainage long before you see staining on the joists.
Look for standing water, wet soil, white mineral streaks on masonry, dark staining on wood, insulation that has fallen or is matted down, and wood that flakes, crumbles, or shows a screwdriver-soft surface. In termite country, check piers, sill plates, and foundation walls for mud tubes. A sill plate is the horizontal member that sits on top of a pier or foundation wall and anchors the floor framing. On older houses, also watch for patchwork shims under beams; a stack of loose wood shims is a sign someone tried to level the floor without correcting the cause. Ugly little clue, that one.
You should also check whether the crawl space has at least 18 inches of working room at key points, because a space that tight becomes a safety problem fast. If it is lower than that, plan on partial entry only, or use mirrors and photos from the access opening. Poor access is not just inconvenient; it raises the chance of missed damage and makes it harder to back out if you find a hazard.
How do I inspect the crawl space step by step?
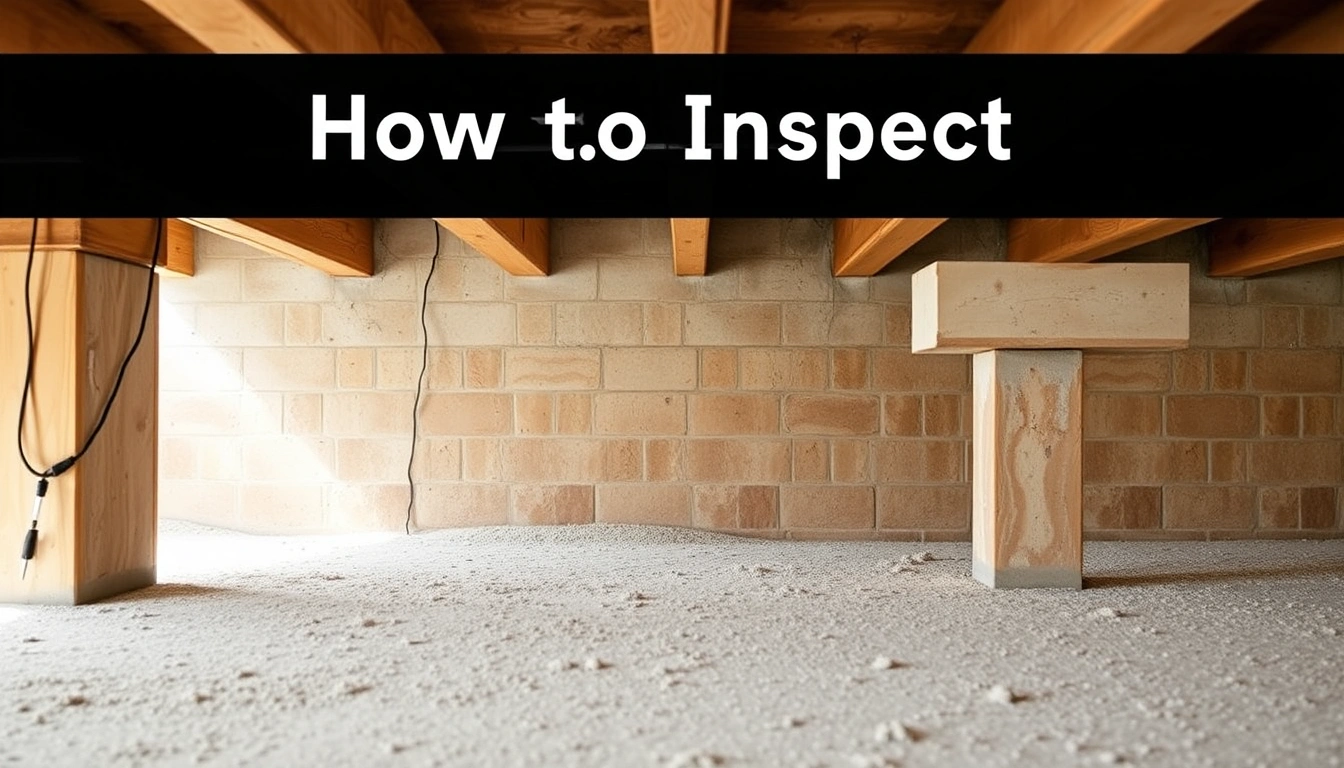
Inspect it by working outward from the access hatch, checking structure, moisture, pests, and utilities in a fixed order. Use the same sequence every time. That habit is what keeps a failing pier or a leak hidden behind insulation from slipping by.
- Open the access hatch and let your eyes adjust for 2 to 3 minutes. Sweep the flashlight around the opening, then make sure the entrance is clear, dry, and free of protruding nails or sharp mesh. Standing water at the hatch, collapsed insulation, or a smell like sewer gas or rotten eggs means trouble right there.
- Check the air and floor near the entry before crawling deeper. Put a hand on the soil or vapor barrier if present. You want damp, cool earth only; puddles, slime, or mud mean water intrusion. If the crawl space uses a 6-mil or thicker vapor barrier, it should lie mostly flat and intact, not shredded into gaps. According to the U.S. Department of Energy, crawl-space ground covers are typically 6-mil poly or thicker when installed as moisture control.
- Inspect the nearest joists, beams, and subfloor for staining and deflection. Look for dark water lines, mold-like spotting, or wood that sags more than the surrounding members. A joist is a floor-framing member running between supports; a beam carries joists over a longer span. One bad patch does not describe the whole house.
- Move to each pier or support point and look at the top, sides, and base. Check that piers sit plumb, have no major cracks, and make full contact with the beam or sill. Missing mortar, leaning masonry, or soil erosion around a pier means the support has changed. On concrete piers, horizontal cracks or rotation are red flags. If you want a benchmark for the original support conditions, compare what you see with local code or repair documentation when it exists.
- Trace plumbing lines and fixtures from one end of the crawl space to the other. Look for corrosion, sweating, or active drips on supply lines; check drain lines for wet joints and sagging pipe. A drip that has already darkened wood or softened insulation is a real problem. Even a small leak can keep one bay wet for weeks.
- Inspect ductwork, wiring, and hanging insulation for damage. Ducts should be attached, not crushed, and not resting in water. Electrical cable should be supported and out of the way, not draped across joists where it can be snagged. If you see exposed splices, scorch marks, or damaged insulation on wires, stop there.
- Check for pest entry and wood damage at the perimeter. Look for daylight gaps, chewed openings, rodent droppings, and termite tubes. A 1/4-inch gap can be enough for small rodents, and termite activity often starts where wood meets damp masonry. Fresh pellets or frass without tracing the source is how people fool themselves.
- Photograph each problem area with one wide shot and one close shot. Include a flashlight beam or tape measure in the frame if possible so you can judge scale later. A good result is a set of images that show location, context, and detail. A bad result is ten close-ups with no idea where they were taken.
Work slowly. A full first inspection of a medium-sized house can take 30 to 90 minutes, depending on clearance and clutter. Need to move insulation? Do it gently by hand, but I would not rip it out during a first inspection. You are gathering facts, not starting demolition.
What a good crawl space inspection looks like
A good inspection leaves you with a map of conditions, not just a pile of photos. You should be able to say where the damp area starts, which beam or pier is most suspect, whether the issue looks active or old, and what the likely source is.
Usually, a healthy crawl space feels dry enough that soil is firm underfoot, the vapor barrier is mostly intact, wood members show age but not active decay, and piers are straight and stable. Vents, if present, are open and not blocked by debris. Plumbing is dry at the joints. Ducts are sealed and supported. There is no visible mold growth, no active pest tunnel, and no rotten wood that gives under light probe pressure.
The most useful habit is comparing one part of the crawl space with another. If the back left corner is wet and the front right corner is dry, the problem is probably local: a gutter discharge, a broken pipe, or poor grading near that corner. If the whole space is damp, the issue is broader, and ventilation, encapsulation, or drainage may be part of the fix. “Encapsulation” means sealing the crawl space floor and walls to limit moisture movement; it is not the same as a simple plastic sheet thrown over soil. Big difference.
I’d also pay attention to the age of the house and the repairs. A pier and beam home may have original masonry piers, later concrete block additions, and several rounds of shimming. That does not automatically mean trouble, but it does mean the house has a history. A good inspection records that history rather than pretending the structure was built all at once. For more context on moisture and crawl-space sealing, the U.S. Department of Energy’s guidance on crawl spaces is a solid reference: https://www.energy.gov/energysaver/encapsulating-crawl-space.
One honest limitation: a visual inspection cannot prove whether a beam is structurally sound the way a full assessment can. It can, however, tell you when the beam is obviously wrong enough that you should not ignore it. That is often enough to make the next decision.
When should I stop and call someone qualified?
Stop when the crawl space stops being a simple inspection and turns into a safety, structural, plumbing, or pest-control problem. In a pier and beam house, the boundary gets obvious fast once you know what to watch for.
Standing water deeper than about 1 inch: This means the crawl space is actively collecting water — Do not continue walking in it; document the source from the entrance and bring in drainage or plumbing help.
Soft, spongy, or crumbling wood on a beam or sill plate: This suggests rot, not just staining — Stop inspecting that area and arrange a structural or carpentry assessment.
Leaning piers, separated shims, or a beam that is visibly off its support: This indicates loss of bearing or movement — Do not crawl farther under that section; get qualified foundation help before anyone goes back in.
Active electrical damage, sparking, scorch marks, or exposed splices: This is an immediate hazard — Leave the space and contact an electrician before any further inspection.
Sewage odor, wet drain line joints, or waste near plumbing: This points to a drain failure or vent issue — Avoid close contact and call a plumber; biohazard cleanup may also be needed.
Heavy termite tubes, frass piles, or wood that sounds hollow when probed: This means an active or recent infestation may be present — Stop and schedule pest control plus a wood-damage assessment.
Low clearance with no easy exit: If you cannot turn around or back out without effort, the crawl space is the wrong place for solo inspection — Do not enter alone; use only a visual check from the opening.
Those are not theory. They are the points where a visual inspection becomes the wrong tool. I’d rather have one incomplete look than one person stuck under a house because the space seemed “fine enough” from the hatch.
The mistakes people actually make, and what they cost
The most common mistake is inspecting only the middle of the crawl space and ignoring the perimeter. The perimeter is where water, pests, and air leaks usually enter. The cost is simple: you miss the source and blame the symptom.
Another error is touching every dark spot and assuming it is mold or rot. Old framing gets dirty. Some stains are from past leaks that are long gone. The right move is to look for spread, softness, odor, and whether the stain lines up with a pipe, vent, or exterior wall.
A third mistake is stepping on insulation or between joists without a clear path. Even in a crawl space, a misstep can crush ductwork, tear a vapor barrier, or put a leg through weak subfloor. Better to move along beams or planned crawl paths and keep your center of gravity low.
A fourth mistake is forgetting to inspect the house from outside at the same time. Roof downspouts, grading, and gutter discharge matter because they explain what the crawl space is doing. If a downspout dumps within 3 feet of the house, that can be the whole story for one wet corner.
A fifth mistake is taking photos without context. A photo of a cracked pier is not enough if you cannot tell which corner of the house it belongs to. Use wide and close shots, and note direction or room location.
The last mistake is deciding that “no disaster visible” means “nothing to do.” A crawl space can have small, expensive issues: a slow leak, a barely open vent, a loose duct, or a vented opening that invites humidity. Those are worth fixing before they become obvious.
What changes in older, low-clearance, or encapsulated crawl spaces?
The standard approach needs adjustment when the crawl space is older, tighter, or already altered. In older houses, especially pre-1970 framing, you may see mixed materials: brick piers, wood shims, concrete block patches, and added plumbing runs. The inspection still works, but you have to judge each repair in context. One patched pier is not the same as a row of patched piers.
In low-clearance spaces, sometimes under 18 inches, I would not recommend full entry unless you can exit easily and keep a clear route. Use a mirror, borescope, or phone on a stick from the access point if needed. That is not cowardice; it is good judgment. A narrower space limits how much evidence you can collect and raises the risk of missing the exit in the dark.
If the crawl space is encapsulated, skip assumptions about venting and focus on barrier integrity, seal edges, dehumidifier operation if one is installed, and condensation on ducts or framing. Encapsulation changes the questions. You are no longer asking whether the space is ventilated; you are asking whether it is dry and sealed. Tears in the liner, unsealed seams, and standing water at the wall edge are the failures to watch for.
If you find asbestos-containing materials, which can appear in some old insulation, pipe wrap, or floor materials, stop touching them and get a licensed asbestos professional before disturbing anything. That is a separate hazard from moisture or framing damage, and it should be handled on its own.