Moisture, Drainage, and Crawl Space — The Complete Guide
Last updated: September 10, 2026
Key Takeaways
- A single 1-inch rain on a 1,000-square-foot roof can shed about 623 gallons of water.
- Measure the fall away from the foundation across the first 10 feet.
- A common target is 6 inches of fall in 10 feet where the lot allows it.
- Run water fixtures above the crawl space for 10 to 15 minutes, and watch for fresh drips.
- Moisture, Drainage, and Crawl Space — The Complete Guide is about stopping water at the source before it reaches the crawl space.
One inch of rain can mean 623 gallons. That is not a small nuisance.
Moisture, Drainage, and Crawl Space — The Complete Guide starts with a blunt idea: a crawl space is usually a water-management problem, not a venting problem. Wet soil, grading that tilts toward the house, downspouts that dump close to the foundation, or a crawl space floor that stays damp after rain all point to the same thing — control where the water comes from and where it goes next. Honestly, that is the core answer in most houses.
Who this is for, and what you need to know first
This Moisture, Drainage, and Crawl Space — The Complete Guide is for a homeowner with a vented or unvented crawl space who sees damp soil, a musty odor, condensation on ducts or joists, or repeat water after storms and wants the fix before spending money. It assumes you already know the basics of your own house: where the downspouts run, whether the crawl space has a plastic liner, and whether water shows up after rain or lingers all the time. Not sure yet? Start there.
One crawl space can have several problems at once. Drainage, roof-water, groundwater, humidity — the mix can get messy fast. The labels matter. “Bulk water” means liquid water moving in from rain, groundwater, or plumbing leaks. “Capillary rise” means moisture wicking upward through soil or porous materials. “Vapor drive” means water vapor moving from damp air into cooler surfaces. Mix those up, and you chase the wrong fix.
I’d treat this as a do-it-yourself diagnosis first, not a do-it-yourself excavation project, and I’d call a qualified professional if the signs point to structural damage or active seepage. A homeowner can check grading, gutters, downspout extensions, crawl-space access, vapor barriers, and obvious plumbing leaks. A homeowner should not guess at footing drains, trenching near a foundation, or structural repairs. If the floor heaves, a support post is settling, the sill plate is soft, or you see active standing water that returns within hours, that is past routine maintenance and into qualified help. For moisture and mold basics, the EPA’s guidance is a useful starting point: EPA Moisture Control Guidance.
This topic is also not for someone hoping a dehumidifier alone will solve a wet crawl space. A dehumidifier can help once the source water is controlled; by itself, it is not a substitute for drainage, and it is a poor choice if the crawl space floods after rain. Same story with “more vents” in a space that is already wet from outside. More openings can make the problem worse in humid weather. A swamp with extra windows is still a swamp.
What follows in this Moisture, Drainage, and Crawl Space — The Complete Guide is the order I use for diagnosis: find the water source, move surface water away, stop roof water from falling at the foundation, block ground vapor, then control indoor humidity and monitor the result. That order matters more than any single product or label.
What makes a crawl space wet in the first place?
A crawl space gets wet because water finds the easiest path into, under, or through the house. The direct causes are usually simple, even if the damage looks ugly. Roof runoff, shallow grading, short downspouts, clogged gutters, plumbing leaks, and groundwater perched above a poorly draining soil layer account for most damp crawl spaces I would expect a homeowner to see. The mistake is treating “wet crawl space” as one condition instead of several possible entry points, and it is wise to consult a professional when the source is not obvious.
Start with the roof. A single 1-inch rain on a 1,000-square-foot roof can shed about 623 gallons of water. That water has to go somewhere, and if a downspout drops it 2 feet from the foundation, a good portion ends up beside the crawl space walls. So gutter discharge is not a cosmetic issue. It is the first line of drainage.
Next comes the ground around the house. I want the soil to slope away from the foundation at least 6 inches over the first 10 feet where site conditions allow it. If the lot is tight, that may be hard to achieve everywhere, but the goal stays the same: keep surface water moving away before it can soak along the wall. A birdbath-shaped yard or a mulch bed piled against the siding can feed the crawl space with water every storm. That math stops working fast.
Then there is groundwater and perched water. “Perched water” means water held up by a tight soil layer, often clay, sitting above a more permeable layer. After rain, that can create a wet zone that keeps the crawl space floor damp for days even when the surface outside looks fine. In those cases, a surface fix alone may not be enough.
Finally, there is the building itself. Leaky plumbing, failed toilet seals in an adjacent bath, HVAC condensate drains, and uninsulated cold surfaces can all show up as crawl space moisture. If you see water stains around a supply line or a rust ring below a drain, do not automatically assume the soil is the only source. The smart move is to separate inside water from outside water before you decide on drainage work.
A generic article often skips the simplest test: timing. If the crawl space gets wet after rain, think roof and site drainage first. If it stays damp in dry weather, think vapor, plumbing, or groundwater. That one split saves a lot of wrong work.
How do I find the real source of moisture?
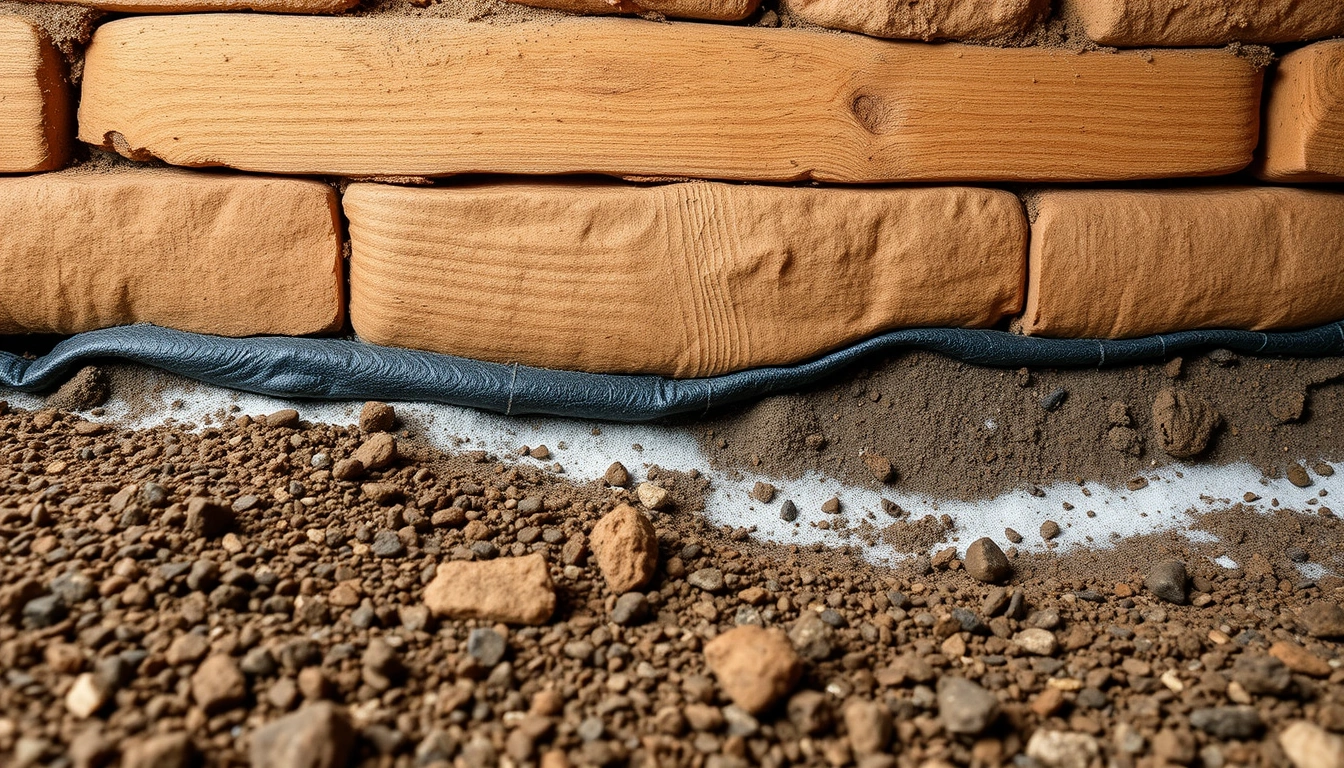
You find the real source by tracing water backward from the crawl space to the place it entered or condensed. Slow inspection, not guesswork. I’d begin above ground, move to the perimeter, and then check the crawl space itself. The tools are simple: flashlight, gloves, a small probe or screwdriver, a tape measure, and, if possible, a cheap hygrometer to read relative humidity.
- Check the roof edge and gutters. Walk the perimeter after a rain of at least 0.25 inch if you can, or inspect dried stain lines and overflow marks. Verify that gutters are not sagging and that there is no obvious overflow mark below a seam or end cap. A problem shows up as staining on fascia, splash marks on siding, or soil erosion below a gutter drop.
- Measure downspout discharge distance. Extend each downspout so it carries water at least 6 feet from the foundation, and farther if the soil slopes back toward the house. Verify that the discharge point is not dumping onto a walkway, flower bed, or low spot that drains back to the crawl space wall. If water still ponds near the foundation, the extension is too short or the grade is wrong.
- Look at site grading. Measure the fall away from the foundation across the first 10 feet. A common target is 6 inches of fall in 10 feet where the lot allows it. Verify that mulch, edging, and soil are not holding water against the wall. If the soil stays dark and soft after the rest of the yard dries, it is trapping moisture.
- Inspect the crawl-space floor and wall line. Check for damp soil, efflorescence (white mineral salt deposits) on masonry, mud lines, or a wet band at the base of the wall. Verify where the wettest point sits: near one corner, at a plumbing penetration, under a bathroom, or along the whole perimeter. A localized wet area often points to a leak or a single exterior drainage failure.
- Test for plumbing or HVAC condensate leaks. Run water fixtures above the crawl space for 10 to 15 minutes, and watch for fresh drips. Verify that drains, traps, and supply lines are dry after use. A persistent wet spot under a bathroom or utility area suggests an internal source, not drainage failure.
- Measure crawl-space humidity and temperature. Use a hygrometer and note readings at several points. Relative humidity above about 60% for long periods is a problem for wood and mold risk, even if you do not see standing water. Verify whether the humid air is coming in from outside vents or from the ground. A cold surface with water droplets is condensation, not a leak.
- Check the vapor barrier. If a 6-mil or thicker polyethylene liner is present, inspect whether it overlaps at least 6 to 12 inches at seams and runs up the wall enough to be sealed or held in place. Verify that it is intact, not shredded, and not floating on water. A torn liner with exposed soil defeats the point of encapsulation.
- Look for structural warning signs. Probe wood near the sill, joists, and posts for softness. Verify whether the floor above feels bouncy, sloped, or suddenly changed. A problem here means the moisture has moved beyond nuisance level and may be affecting structure.
The point of this sequence is to avoid the classic mistake of treating the symptom you noticed first as the cause. A puddle under a crawl space may have started as a clogged gutter on the opposite side of the house. A wet joist may be from condensation on an uninsulated cold-water pipe. A dehumidifier may reduce the smell while leaving the source untouched. A good diagnosis ends with a short list: outside runoff, groundwater, plumbing, or condensation.
If you want one simple rule, use this: water that appears after rain is a drainage problem until proven otherwise; water that appears in dry weather is a humidity, plumbing, or groundwater problem until proven otherwise. Not absolute. Still the right first filter. For crawl-space moisture, drainage basics and moisture control should be checked together, not one at a time.
What should a crawl-space drainage fix actually do?
A crawl-space drainage fix should keep liquid water away from the foundation, give any water that reaches the crawl space a path out, and stop soil moisture from evaporating into the space. That usually means surface drainage outside, sometimes an interior drain inside, and almost always a vapor barrier on the ground. In good work, those pieces support each other. In bad work, one piece hides the failure of the others.
I’d think about the job in layers. The roof layer handles runoff. The grade layer handles rainfall near the wall. The subsurface layer handles groundwater or seepage. The crawl-space layer handles vapor and small residual moisture. Ignore one layer, and the next layer has to do the work of two.
A generic article often overstates vents and underestimates the ground. Vented crawl spaces can work in some climates and building designs, but vents do not drain water. They can even bring in humid air that condenses on cooler framing. That is why many crawl-space remedies today focus on sealing ground moisture and controlling humidity rather than simply opening more vents. The exact approach depends on climate, code, and the existing house. For guidance on crawl-space moisture and control methods, the U.S. Department of Energy’s Building America research materials are a useful reference, as are the U.S. Environmental Protection Agency’s mold and moisture pages: DOE Building America and EPA Moisture Control Guidance.
The practical question is not “Should I encapsulate?” It is “What is the least complicated way to keep this space dry enough that wood stays stable and mold does not have a place to grow?” Sometimes the answer is as simple as extending downspouts and repairing a vapor barrier. Sometimes it takes a sump basin and pump. Sometimes it takes a full drainage plan around the foundation. The right scale depends on the source and volume of water.
I would not recommend interior drain systems for every damp crawl space. They make sense when groundwater or seepage is coming through the wall or floor and cannot be stopped reliably from the outside. They are not my first choice for a house that only gets wet because a downspout empties next to the corner. In that case, the interior drain is a costly workaround for a simple exterior fix. For more background on drainage planning, see basement and foundation drainage and the EPA’s mold-prevention guidance.
How do I fix crawl space moisture step by step?
You fix crawl space moisture by stopping outside water first, then controlling the crawl space floor and air. I’d do it in this order because it cuts rework and shows quickly whether the real problem is drainage, vapor, or both. If the space is actively flooding, skip to the stop section below; that is not a normal DIY cleanup.
- Correct roof runoff. Clean gutters, repair leaks, and extend downspouts at least 6 feet from the foundation or to a drainage point that moves water downhill. Verify water exits onto ground that slopes away. If the discharge point ponds, the extension is not enough.
- Fix surface grading. Rework the soil so the first 10 feet fall away from the house where possible, aiming for about 6 inches of drop. Verify that soil is firm and not slumping back toward the wall after the next rain. A low spot beside the foundation means the water will return.
- Seal obvious entry points. Close gaps around pipe penetrations, torn crawl-space doors, and obvious wall cracks with the right repair material for the substrate. Verify that the closure sheds water rather than trapping it. If a crack is actively wet and widening, that is not a patch job.
- Install or repair the ground vapor barrier. Use polyethylene at least 6 mil thick; many crawl-space jobs perform better with 10 to 20 mil material because it resists tearing. Overlap seams 6 to 12 inches and seal them. Run it up the wall and around piers as needed. Verify full ground coverage with no exposed soil. If the liner lifts, tears, or leaves open seams, vapor will still enter.
- Drain standing water. If water collects in the crawl space after rain, create a path to a sump basin or low point drain, but only after you know where the water is coming from. Verify that water moves to the exit without pooling for more than a few hours under normal conditions. If the floor slope directs water to the wrong corner, the drain design is wrong.
- Control humidity. Once water entry is reduced, use a crawl-space dehumidifier sized for the space and set it to keep relative humidity below about 60%. Verify the hygrometer reading in several spots, not just near the equipment. If the unit runs continuously and humidity stays high, air leakage or unresolved water entry is still feeding the space.
- Insulate the right surfaces. Insulate ducts, cold water lines, or crawl-space walls only where it matches the moisture strategy and local code. Verify that insulation does not trap wetness against a surface. If insulation becomes damp or moldy, it is hiding a problem, not fixing it. For code-aware details, check local guidance before changing insulation or combustion-air conditions.
- Monitor for 2 to 4 weeks. Check after rain and during dry weather. Verify that odors fade, the liner stays in place, and humidity stabilizes. A bad result shows up as new staining, recurring puddles, or a musty smell that returns within days.
The important trade-off is simple: every permanent fix costs less than repeated cleanup, but some permanent fixes are only worth it if the water volume justifies them. A full interior drain and sump system is sensible for chronic seepage. It is overkill for a downspout that needs another 6 feet of extension. I’d rather see a house with simple, effective outside drainage and a clean vapor barrier than a house with an expensive pump covering for bad grading.
Also, a good result is quiet. You should not need to smell mustiness every time you open the crawl-space hatch. You should not see standing water, dripping condensation, or wet cardboard-looking insulation. The wood should stay dry to the touch, the liner should remain anchored, and humidity should settle into a normal range instead of spiking after every storm.
When should I stop and get qualified help?
You should stop and get qualified help when the crawl space is no longer a moisture-control job and has become a drainage, structural, or waterproofing problem. This is the part people ignore because the first signs look small. The consequences are not small. A wet crawl space can lead to settlement, wood decay, mold growth, failed insulation, and recurring indoor odor if the source is not handled correctly.
Standing water returns after rain and reaches several inches deep: That means the space is receiving more water than a surface fix can manage — arrange a site and drainage assessment before trying to patch the floor.
Wood is soft, swollen, or visibly decayed near the sill, joists, or posts: That means moisture has already damaged structural members — stop patching and get structural evaluation.
The crawl space floods from wall seepage or a floor crack: That usually means groundwater or subsurface pressure is involved — interior drainage, exterior waterproofing, or both may be needed.
A support column is out of plumb, sinking, or sitting on a weak footing: That means the load path may be compromised — do not add moisture work before the support issue is addressed.
Mold covers a large area or keeps returning after drying: That means the space is staying wet enough for growth to persist — fix the moisture source first and use proper remediation if contamination is extensive.
You smell gas, see damaged electrical wiring, or find a live junction box in standing water: That is an immediate safety issue — stop, shut off power if safe, and call the appropriate utility or licensed trade.
The crawl space is too tight, too low, or too unstable to access safely: That means the physical