Pier and Beam Foundation Inspection Checklist for Homeowners
Last updated: September 10, 2026
Key Takeaways
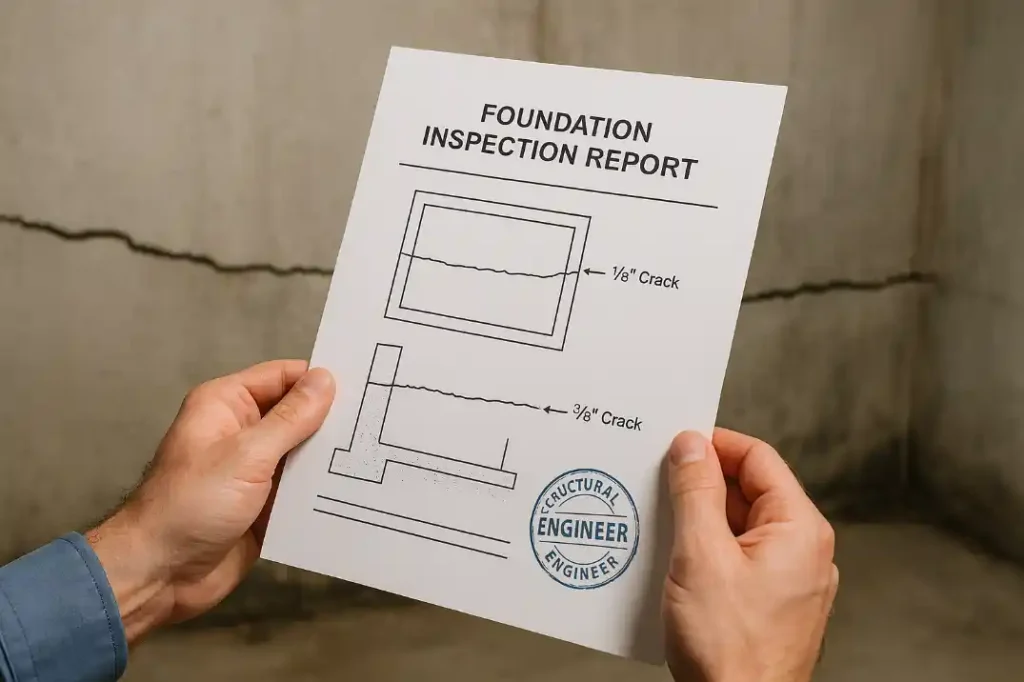
- A single crack matters less than one that has clearly grown over 30 to 90 days.
- Floor joists usually run 12 inches, 16 inches, or 24 inches on center depending on the structure.
- The better alternative is to date the crack, photograph it, and recheck it in 30 days.
- I would spend 10 to 15 minutes inside before going into the crawl space, because the inside tells you where the foundation may be acting up.
Own a pier and beam house? Then this pier and beam foundation inspection checklist for homeowners helps you sort out what you can check yourself, what belongs in your notes, and which warning signs mean you should stop and bring in a foundation or structural professional. It fits a homeowner who can crawl under the house safely, carry a flashlight, and spot obvious changes in wood, soil, and framing. It is not for someone dealing with a sagging floor, a recent flood, visible shifting in framing, or any place where you cannot move comfortably under the structure.
What this pier and beam foundation inspection checklist for homeowners is for — and what I assume you already know
This pier and beam foundation inspection checklist for homeowners is for a typical raised house supported by piers, beams, and floor joists, with a crawl space beneath it. I am assuming you know how to use a flashlight, a tape measure, a notebook or phone camera, and basic safety gear such as gloves, long sleeves, knee pads, and a dust mask. And I am also assuming you can tell the difference between a surface crack in a drywall seam and a structural problem that keeps growing.
A pier and beam foundation behaves differently from a slab. The floor framing sits above a crawl space, so the real questions are not just “Is the wall cracked?” but “Are the piers plumb, are the beams straight, is the crawl space dry, and is the floor level enough to support the house properly?” That is why this inspection mostly comes down to patterns: repeated movement, moisture, wood condition, and spacing. One odd mark can be noise. A pattern is the signal.
I would not make this a DIY job if you suspect active structural movement, termite damage, standing water, broken plumbing under the house, or rot so advanced that the wood crumbles when touched. Those are not “keep looking” situations. They are “stop and get qualified help” situations, because the problem may be bigger than a visual inspection can safely sort out. The International Code Council’s residential code language on floor framing and crawl spaces, and the U.S. Environmental Protection Agency’s guidance on mold and moisture, are useful references for those limits.
Two references I would keep in mind while you work are the International Code Council’s residential code language on floor framing and crawl spaces, and the U.S. Environmental Protection Agency’s guidance on mold and moisture. I am not quoting either as a substitute for local code or an engineer’s report; I mention them because they frame the same two realities every homeowner faces: structure and moisture. See also the ICC’s code information at https://codes.iccsafe.org/ and the EPA’s mold and moisture guidance at https://www.epa.gov/mold.
What should I check first in a pier and beam foundation?
Start inside the house, not under it. Doors, floors, walls, and trim usually show the first clues that a pier and beam foundation has shifted. I would spend 10 to 15 minutes inside before going into the crawl space, because the interior often points to where the trouble is hiding.
Use a 4-foot level or a marble/ball test on the floor if you do not have a level. Walk slowly and note where the floor feels sloped, springy, or bouncy. Check for interior door gaps that suddenly changed, doors that rub at the top or latch side, and baseboards that separate from the wall. A crack in a drywall seam can be cosmetic, but a crack that widens at one end, repeats in multiple rooms, or lines up with a dip in the floor deserves a closer look. For repair context, see our foundation repair guide and how to level a floor.
Now compare what you see to a simple baseline. Measure any obvious floor slope across a room with a tape and level, or at least note the direction of the slope. Take photos from the same spot, at the same angle, so you can compare them later. A single crack is less useful than a crack that has clearly grown over 30 to 90 days.
Watch for water history near bathrooms, kitchens, exterior doors, and laundry areas. In pier and beam homes, a plumbing leak often shows up as soft flooring, cupped boards, or staining along the subfloor before it becomes a major structural issue. If the house smells musty or the air feels damp near the floor, write that down. Moisture is often the first domino. For more on moisture control, see our crawl space moisture tips and foundation drainage basics.
How do I inspect the crawl space step by step?
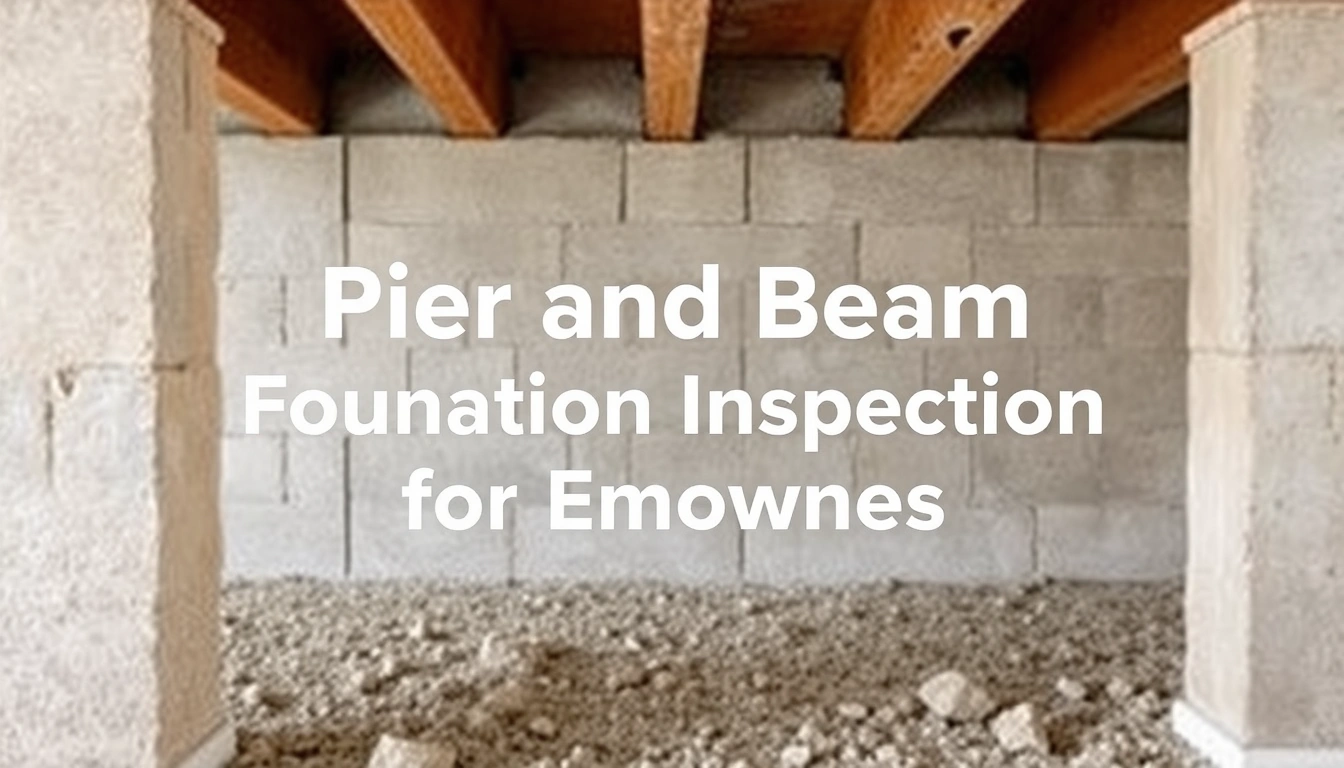
Check the crawl space in this order: access, moisture, wood condition, pier alignment, beam condition, joist spacing, then movement at the connections. In a small house, a careful crawl-space inspection usually takes 30 to 60 minutes; a tight or cluttered one takes longer. No shortcut here.
- Open the access and check your route. Verify that the entry is wide enough for you to move back out if needed, and that there is no standing water, exposed wiring, or animal nesting at the opening. A problem is any crawl space you cannot exit without twisting, climbing, or forcing yourself past debris.
- Check moisture first. Look at the soil, plastic vapor barrier if present, and the underside of the floor. Verify whether the ground is damp, muddy, or dry, and whether there are water stains on beams or subfloor. A problem is visible pooled water, wet insulation, or active dripping from supply lines or drains. The EPA’s moisture guidance at https://www.epa.gov/mold is a useful reference here.
- Scan all piers. Piers are the support posts or masonry stacks holding the beams. Check that each pier looks vertical, sits on a proper base, and has no obvious cracking, tilt, or missing mortar. A problem is a pier leaning more than the others, a crushed block, or a pier that seems to have settled into the soil.
- Inspect the beams. Beams carry the load from the joists to the piers. Use your flashlight along the length of each one and verify that the beam is not bowed, split, notched badly, or sagging between supports. A problem is a beam with a visible dip, a long crack, or patched areas where damage seems to have been covered instead of corrected. See our [structural beam repair overview](/structural-beam-repair-overview).
- Inspect the joists and subfloor. Floor joists usually run 12 inches, 16 inches, or 24 inches on center depending on the structure. Verify that they are straight, dry, and securely connected. If you are not sure, consult a qualified carpenter or structural professional. A problem is wood that is soft, splintered, chewed through, or stained dark from moisture.
- Check for movement at connections. Look at shims, hangers, bolts, straps, and fasteners. Verify that shims are solid, not stacked like a loose card deck, and that connectors are not rusted through. If the assembly seems unstable, consult a foundation or structural professional before adjusting anything. A problem is a shim stack that has slipped, crushed wood under a beam, or metal connectors that are heavily corroded.
- Look for utility problems. Inspect plumbing lines, drain pipes, and HVAC ducts for leaks, condensation, and support. Verify whether any line is rubbing a joist or beam. A problem is an active leak, hanging pipe, or wet insulation under a drain line. See our [plumbing leak detection checklist](/plumbing-leak-detection-checklist).
- Document and compare. Take wide photos and close-ups, then note the date, room location, and exact symptom. Verify whether the same area shows floor slope, wall cracks, and moisture together. A problem is a cluster of signs in one zone, because that often points to a localized support failure rather than random wear.
One bad-looking pier does not always mean the whole foundation is failing, but one bad pier combined with moisture, a sagging beam, and interior floor drop is a real pattern. I would treat patterns as more meaningful than single defects, and I would ask a foundation or structural professional to confirm what the pattern means.
What are the mistakes people actually make?
The biggest mistake is mixing up settlement with shrinkage or seasonal movement. A hairline drywall crack may be harmless, but a growing crack plus a floor dip is not. The consequence is delay, and delay turns a cheaper adjustment into a larger repair. The better alternative is to date the crack, photograph it, and recheck it in 30 days.
Another common error is poking at damaged wood with a screwdriver and assuming anything that resists is sound. Rot can hide under a thin crust of firmer wood. The consequence is a false sense of safety. Better alternative: check softness, staining, and edge breakdown together, not one symptom alone. If the wood looks questionable, consult a structural professional.
People also ignore drainage. They focus on the pier and beam itself and skip the gutters, downspouts, grading, and plumbing leaks that often caused the movement in the first place. The consequence is a repaired support that starts moving again. Better alternative: inspect where water comes from and where it goes; if downspouts dump next to the house, that matters as much as a cracked pier. See our gutters and drainage guide.
A fourth mistake is using temporary shims as if they were a permanent fix. Shims are a leveling tool, not a cure for rotten wood or a sinking pier. The consequence is recurring sag and loose support. If the structure needs more than a minor correction, consult a foundation or structural professional before proceeding. Better alternative: treat shims as part of a controlled adjustment, not an excuse to stop.
A fifth mistake is overlooking ventilation and insulation. A crawl space that is sealed poorly or vented badly can trap moisture and invite mold or rot. The consequence is damage that spreads even when the foundation looks stable. Better alternative: assess humidity, airflow, and insulation condition at the same time you check the structure. The EPA’s mold and moisture guidance at https://www.epa.gov/mold is relevant here.
When should I stop and call for help?
Stop your inspection when the problem looks structural, active, or unsafe rather than cosmetic. A pier and beam house can often be inspected by a homeowner, but some signs mean the DIY approach has reached its limit.
Standing water or mud under the house: This means the crawl space is actively wet, and the support system may be losing bearing — Stop and address drainage or plumbing before continuing, because water changes the reliability of every other observation.
A pier that has shifted, tilted, or collapsed: This means one support has failed or is failing — Do not try to reset it yourself unless you are qualified for structural work; improper jacking can crack beams or shift load elsewhere.
Soft, punky, or crumbling wood: This means rot or severe decay is present — Stop the inspection and arrange for repair assessment, because damaged joists or beams can fail when loaded.
Fresh or widening interior cracks paired with floor slope: This means movement is likely ongoing — Get a structural evaluation, because the building may still be settling.
Broken plumbing, active leaks, or sewage under the house: This means the crawl space is not a safe inspection environment — Leave it and have the leak corrected first.
Electrical wiring hanging low, damaged, or in contact with moisture: This means the crawl space has a shock hazard — Do not continue until the electrical issue is made safe by a qualified person.
I would also stop if the crawl space is too tight for you to move without scraping, if you feel dizzy or overheated, or if you cannot keep both hands free while balancing. A rushed crawl space inspection is how people miss the real defect and get hurt.
What counts as an edge case in a pier and beam house?
An edge case is any situation where the usual checklist needs adjustment because the house, soil, or history changes the reading. Pier and beam homes are not all built the same, and a normal inspection can mislead you if you ignore that.
If the house sits on expansive clay, movement may track with wet and dry seasons. In that case, I would compare the same crack or slope over 3 to 6 months rather than panic over a single rainy week. The key is change over time, not one snapshot.
If the home has had a recent addition, porch enclosure, or removed wall, the load path may be different from the original structure. That means one area can settle while the rest stays stable. Look carefully at transitions between old framing and new framing, because mismatched heights and connector types often show up there first. It can look a little stitched together, and that is exactly the clue.
If the crawl space is encapsulated with plastic and sealed vents, moisture readings can look different from an open vented crawl space. Do not assume “dry-looking” equals dry. Check for condensation on framing, standing humidity, and wet insulation near the perimeter. Since the crawl space is encapsulated, a dry surface does not always mean the structure is dry.
If the house has brick veneer, hairline exterior cracks may reflect movement, but they can also reflect veneer behavior rather than foundation failure. In that case, compare outside cracks with inside floor slope and door movement before drawing conclusions. Because the veneer can move differently, the crack alone is not enough.
If the structure is old enough that original piers are stone, stacked masonry, or mixed materials, expect irregular spacing and past repairs. That does not automatically mean danger, but it does mean you should document what is original and what is newer. A patchwork support system is harder to read and easier to misunderstand. For historic house context, see our old house foundation guide.
How do I know the inspection was done well?
A good inspection leaves you with a dated record, clear photos, and a short list of questions instead of a vague feeling. If you have checked the floor, crawl space, moisture, supports, wood condition, and utilities, you should be able to say where the problem is, how severe it looks, and whether it appears active. That is the goal of this pier and beam foundation inspection checklist for homeowners.
I would call the result good if you can answer these three things: Is the house dry enough to evaluate? Are the supports straight and intact? Is the damage isolated or widespread? If you cannot answer any of those after about an hour, the inspection was too shallow.
What a bad inspection looks like is just as useful. It usually means someone looked at one crack, glanced under the house for 2 minutes, and decided everything was fine. That misses the patterns. It also misses the repair sequence: fix the water, then the support, then the finish damage.
Keep your notes. A one-page log with dates, photos, and measurements is more useful than memory when you compare changes over time.
FAQ
How often should I inspect a pier and beam foundation?
At least once a year, and again after heavy rain, plumbing leaks, or any sign of new floor slope. In a house with known moisture problems, I would check it more often than that.
Can I inspect the crawl space without entering it?
Yes, partly. You can learn a lot from the interior floors, exterior drainage, and the visible edge of the crawl space. But you cannot fully evaluate piers, beams, and moisture conditions without going underneath at least far enough to see them.
What is the most important sign of trouble?
A combination of floor slope, active moisture, and visible support movement. One sign alone may be minor; the cluster is what raises concern.
Do all cracked piers mean foundation failure?
No. Some cracks are old and stable, especially in masonry or patched piers. But if a cracked pier is part of a larger pattern, a foundation or structural professional should evaluate it.