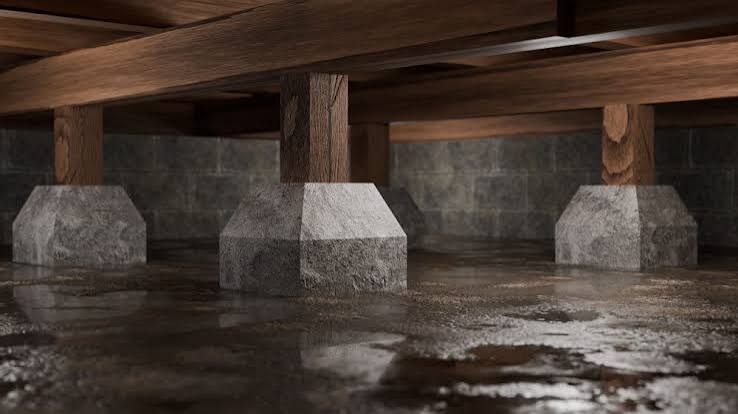
How Moisture Damages a Pier and Beam Foundation
Last updated: September 10, 2026
Key Takeaways
- Check the first 6 to 10 feet around the house if the lot allows it.
- A problem is present if the same area gets damp within 24 to 48 hours of rain or stays damp for days.
- Fix that first and monitor for 2 to 4 weeks if the issue is a downspout, grading, or a small plumbing leak.
- A roof edge that dumps 20 feet of water during a storm can soak a crawl space edge without ever leaking through the roof.
Table of Contents
- Key Takeaways
- Who this applies to, and what I’m assuming
- What moisture actually does to a pier and beam foundation
- How do I tell if moisture is already hurting the foundation?
- How moisture damages a pier and beam foundation, step by step
- What to check before going further
- When should I stop and call for structural help?
- The mistakes people make, and what they cost
- When does the standard advice not apply?
Moisture damages a pier and beam foundation by softening soil, rotting wood, corroding metal connectors, and pushing the structure out of level. Musty smells, damp crawlspace framing, sticking doors, or soft floors usually mean more than “just humidity” — water is showing up where the foundation was never meant to stay wet. For more on how moisture damages a pier and beam foundation, the basic failure path is simple: water gets in, movement follows.
Who this applies to, and what I’m assuming
This applies to a house with a crawl space or raised floor supported by piers, beams, joists, and often wood sill plates, not a slab-on-grade house. I’m assuming you already know the basics: there is space under the floor, you can get access through a crawlspace hatch or exterior vent, and you are trying to understand why the floor feels wrong or why repair quotes keep mentioning drainage, vents, or shimming.
And I’m also assuming you are asking the right question: not “Is moisture bad?” but “How does moisture actually hurt this foundation, and what signs tell me the damage is serious?” That matters because pier and beam systems fail in a pattern. Water usually starts at the ground, then moves into wood and fasteners, then affects the alignment of the whole floor. By the time a door rubs or a tile cracks, the original source may have been active for months or years. Ugly timing. Very common.
Some parts are easy enough for a careful homeowner to inspect: standing water, wet soil, failing gutters, damaged crawlspace vapor barriers, and obvious wood rot. Other parts are not a DIY call: beam replacement, pier realignment, structural cracks, or any situation where the floor has noticeable sag. If the crawl space has sewage, live electrical hazards, heavy mold, or a gas smell, stop there. No heroics.
Think of this foundation type in plain terms: dry soil and dry framing keep it steady. Wet soil and wet framing make it move. A pier and beam house can handle some seasonal moisture; it cannot handle chronic water. For context on crawl space moisture control, the U.S. Department of Energy recommends keeping crawl spaces dry and properly managed rather than relying on ventilation alone: https://www.energy.gov/energysaver/crawlspaces
What moisture actually does to a pier and beam foundation
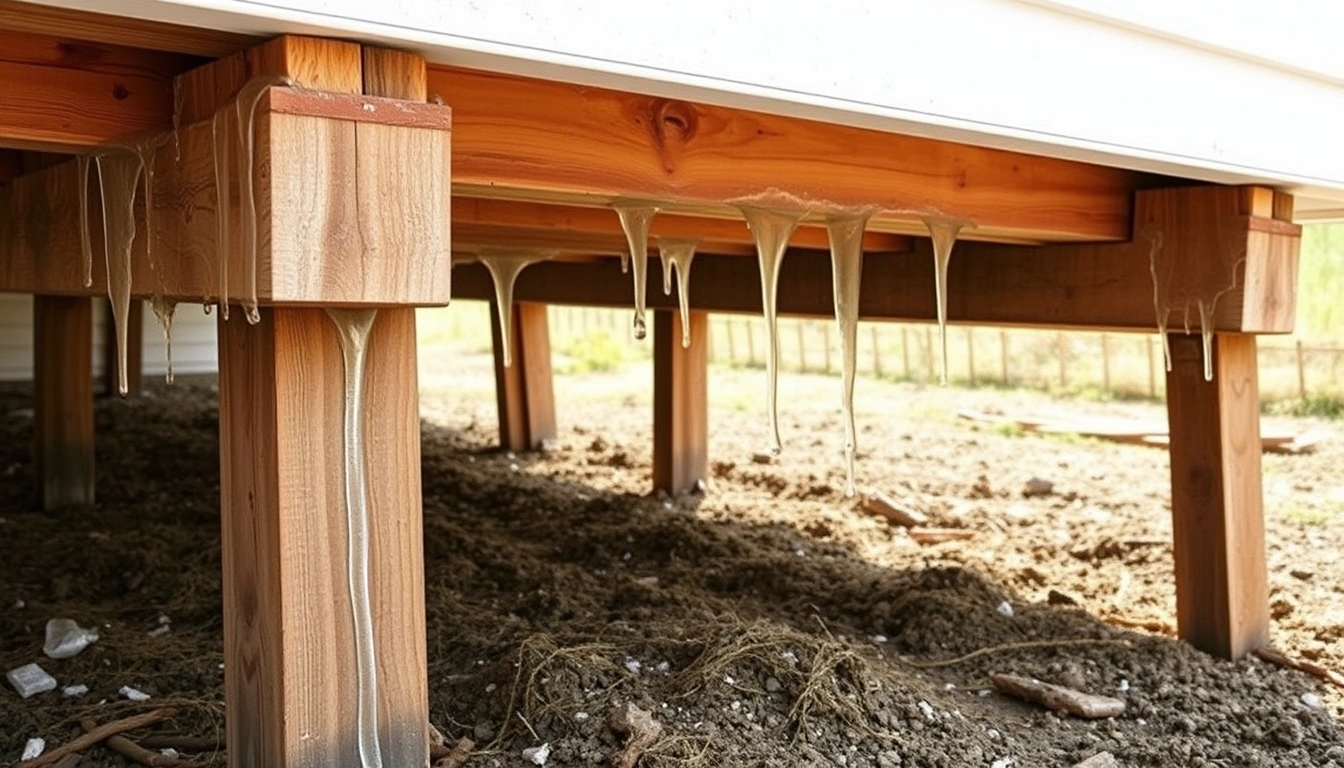
Moisture damages a pier and beam foundation by hitting three weak points at once: support, wood, and connection points. First, water changes the soil under the piers. Clay soil swells when wet and shrinks when dry; sandy soil can wash out and lose bearing. Either way, the piers no longer sit on a stable base. A pier that was level in March can settle, tilt, or shift by summer if the soil below it changes enough.
Second, moisture feeds decay in wood. “Decay” here means fungal rot, the breakdown of wood fibers when wood stays damp long enough. In crawl spaces, the usual victims are joists, sill plates, rim joists, and any blocking that sits close to the ground or touches wet masonry. Once wood starts to rot, it loses stiffness. The floor above starts to bounce, dip, or feel soft.
Third, moisture attacks metal. Galvanized hangers, nails, screws, and anchor points can corrode faster in a damp crawl space, especially if the humidity stays high and the wood stays below roughly 20% moisture content. That number matters because most rot fungi need elevated wood moisture to get established. A moisture meter is useful here; if the bottom of joists or sill plates is consistently wet, the problem is not cosmetic.
There’s a fourth effect people miss: moisture invites pests. Termites, carpenter ants, and rodents do not cause the moisture problem, but wet wood makes the damage faster and harder to spot. A damaged sill plate under a floor can be partly rot, partly insect activity, and partly loss of support from wet soil.
The chain is the real story: water → soft ground and damp wood → movement and decay → uneven floors, cracked finishes, and structural stress. That is why a damp crawl space should usually be treated as a structural issue, not just an indoor-air issue, and you should consult a structural professional if the dampness is persistent or the floor is moving. For wood decay and moisture thresholds, the Forest Products Laboratory’s Wood Handbook is a standard reference: https://www.fpl.fs.usda.gov/documnts/fplgtr/fpl_gtr190.pdf
How do I tell if moisture is already hurting the foundation?
Moisture is already hurting the foundation if you can trace a pattern from water entry to structural change, not just from dampness to bad smell. The telltale signs are usually under the house first, then inside the house later.
Start with the crawl space itself. Look for wet soil, puddling after rain, water marks on piers, rust on metal connectors, and wood that looks dark, fuzzy, cracked, or crumbly. A screwdriver is a useful probe: if it sinks easily into a sill plate or joist end, that is not normal surface dampness. You want firm wood with no springy give and no punky texture.
Then look at the house above. Doors that stick, gaps at baseboards, sloped floors, cracked tile at stress points, and drywall cracks that reappear after patching can all point to movement below. The clue is repetition. One sticky door in a humid week is noise. Two or three doors changing at once, especially after heavy rain or a long wet season, points toward foundation movement.
I would also check the exterior drainage before blaming the structure. Gutters that dump water next to the footing, downspouts that end within 3 to 5 feet of the house, negative slope toward the foundation, and clogged French drains are common causes. If the problem worsens after rain and improves during dry spells, that is a drainage clue. If it stays bad all year, structural damage may already be established. That’s the ugly part: the water leaves first, but the evidence lingers.
For a quick field check, a moisture meter gives you a better answer than smell alone. Readings around the crawl-space perimeter, beam ends, and sill plates are more useful than a random reading in the middle of a joist. One wet spot can mean a leak. Several wet spots, especially near the same wall, mean a system problem.
How moisture damages a pier and beam foundation, step by step
Moisture damages the foundation in a predictable sequence, and the order matters.
- Find the water source and mark it. Check gutters, downspouts, grading, plumbing leaks, HVAC condensate lines, and any crawl-space vents or openings. Verify whether the soil is wet only after rain or wet all the time. A problem is present if the same area gets damp within 24 to 48 hours of rain or stays damp for days.
- Measure the damage path. Use a moisture meter on sill plates, joist ends, beam faces, and subfloor areas near the suspect wall. Compare readings from wet areas to dry interior wood. A problem shows up when wood stays noticeably damp in the same zone, especially near exterior walls or plumbing runs.
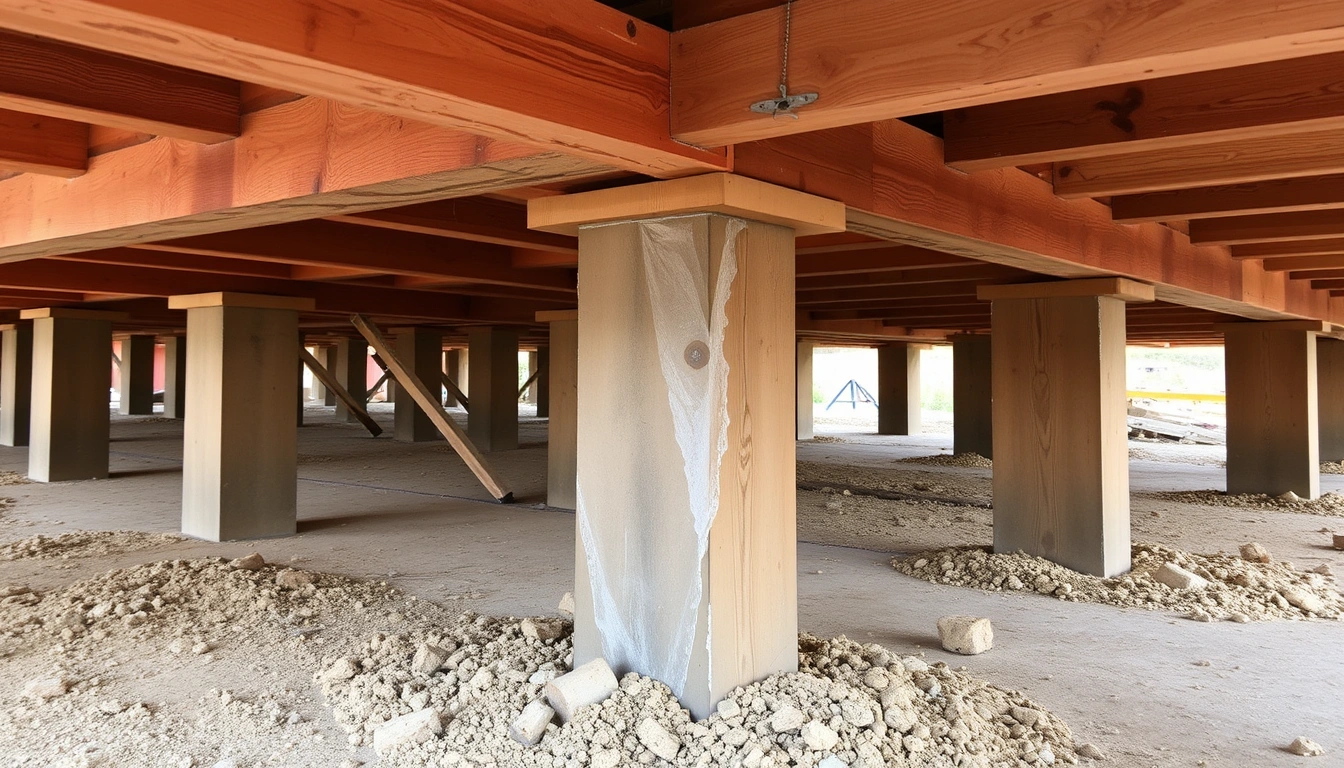
- Inspect the soil under the crawl space. Look for standing water, erosion channels, mud on piers, or soil pulled away from pier bases. Verify that each pier sits on a firm footing, not on soft soil or a broken brick stack. A problem is any pier that rocks, tilts, or has visible settlement relative to nearby piers.
- Check wood members for decay. Probe joists, sill plates, and beam ends with an awl or screwdriver. Healthy wood resists penetration and feels solid. A problem is wood that flakes, crushes, or leaves the tool buried more than a few millimeters with little force.
- Assess alignment, not just damage. Sight along beams and floor lines, and look for dips, crowns, or twisting. A change of 1/2 inch over a short span may be enough to explain sticky doors or cracked trim. A problem is any visible sag that suggests a member has lost stiffness.
- Check connectors and fasteners. Inspect hangers, straps, nails, bolts, and anchor plates for rust or staining. Verify that metal is tight to wood and not crushed by movement. A problem is corrosion that has eaten away metal thickness or loosened a connection point.
- Separate cosmetic damage from structural movement. Note whether drywall cracks, tile cracks, and door misalignment repeat after wet weather. A problem is repeatable movement tied to moisture, not a one-time finish crack from settling years ago.
- Decide whether the moisture can be controlled without structural repair. If the issue is a downspout, grading, or a small plumbing leak, fix that first and monitor for 2 to 4 weeks. A problem is continuing movement after water control, which means the foundation already needs repair or leveling.
People often jump straight to shimming or sistering joists before stopping the water. Bad order. That can hide the symptom while the cause keeps working. If the crawl space is still getting wet, any repair is temporary.
What to check before going further
The foundation is not the first place I would spend money; the water source is. Before you assume the piers are failing, check three things: roof runoff, ground slope, and plumbing. A roof edge that dumps 20 feet of water during a storm can saturate a crawl space edge without ever leaking through the roof. A broken supply line under the house can do the same thing faster and with less warning.
Look for slope on the exterior grade. Soil should fall away from the house, not toward it. Even a small negative slope near the wall can funnel water to the footing. Check the first 6 to 10 feet around the house if the lot allows it. If the grade is wrong, no amount of interior drying will hold.
Check the crawl-space ventilation setup too, but treat vents as part of the whole system, not a cure by themselves. In a damp climate, open vents can move humid air through the crawl space and make condensation worse. In a dry climate, a little airflow can help. That is why blanket advice fails here. The right answer depends on climate, ground cover, and whether the crawl space is already sealed. If you are unsure, consult a building professional before changing venting.
Also check the floor above for load symptoms. If a single bathroom floor sags near a tub, the issue may be water damage localized to that area. If multiple rooms slope toward one wall, the cause is more likely pier settlement or beam failure. One wet patch can be a leak. A whole side of the house going out of level is a structural story.
If you are documenting the problem, take photos with a tape measure in frame. A picture of a cracked beam end is useful; a picture with a ruler against the crack is better. That kind of record helps separate a moving problem from an old stain.
When should I stop and call for structural help?
You should stop when the moisture has already turned into structural movement, because shoring, leveling, and member replacement are no longer “inspect and seal” jobs. This is the point where a crawl-space problem becomes a foundation repair.
A pier is leaning, cracked, or missing its footing: that means the load path is broken — stop using the area as a simple maintenance problem and get a structural assessment.
The sill plate or beam end is soft, crumbling, or deeply rotted: the wood is no longer carrying load reliably — repair or replacement is needed, not patching.
The floor has a noticeable sag or bounce over more than one room: the framing has lost stiffness — do not just add caulk, insulation, or a dehumidifier and hope it settles back.
Water enters the crawl space after every heavy rain: the source is active and recurring — drainage, grading, or plumbing repair has to come first, or every other fix will fail.
You see mold covering a large area, sewage, or a live electrical hazard: this is a safety issue as well as a moisture issue — stop work and have it handled properly.
Cracks or movement keep worsening after the water source was fixed: the foundation may already have a damaged support path — that usually means leveling, beam work, or pier repair is next.
If the house is old and the piers are brick stacks, mixed materials, or undersized concrete blocks, I would be even more cautious. Those systems can work for decades, but once water starts cycling through them, the margin disappears fast.
The mistakes people make, and what they cost
The first mistake is sealing in moisture before fixing the source. People install a vapor barrier or close vents and feel done. If groundwater, a plumbing leak, or bad grading is still active, the crawl space can trap the same moisture instead of shedding it. The cost is hidden decay.
The second mistake is treating a floor-leveling job as a cosmetic repair, so a homeowner may need to consult a structural professional before shimming a beam. Shimming a beam without knowing why the pier settled can lift the floor temporarily, then drop it again. The correct alternative is to identify and correct the wet soil, footing failure, or rotten wood first.
The third mistake is using odor as the main diagnostic tool. A crawl space can smell musty long before the framing is structurally damaged, and it can be badly damaged without a strong odor if airflow is high. Moisture readings and wood condition matter more than smell.
The fourth mistake is ignoring one wet corner because the rest of the crawl space looks dry. Localized moisture can still rot a sill plate, especially near a bathroom, water heater, or downspout outlet. The correct alternative is to inspect the entire perimeter and any plumbing corridors.
The fifth mistake is assuming all crawl-space ventilation helps. In humid climates, venting can pull in warm wet air that condenses on cooler wood. That can make the floor framing wetter, not drier. The better alternative is a crawl-space strategy matched to the climate and the drainage condition.
The sixth mistake is waiting for visible collapse. By the time a pier has failed obviously, the repair is usually more expensive because more than one component has been damaged. The smarter move is to act on repeated movement, not dramatic failure.
When does the standard advice not apply?
Standard advice does not apply well when the house has unusual soil, unusual access, or unusual construction. Expansive clay, for example, can move so much with seasonal moisture changes that pier and beam adjustments need more frequent monitoring than a house on stable sandy soil. If the site has poor drainage and tree roots are adding pressure, the math stops working fast.